The photos on your website are a key part of your brand.
They help to paint the picture of your business and influence your website visitors in their decision to work with you or not.
When done poorly, photos can hurt your brand, negatively impacting your reputation and repelling visitors that might have otherwise taken action.
When done well, photos tell the story of your brand and what you do that attracts your dream clients so they’re lining up to work with you.
In this article, we’ll look at how you can get professional photos right the first time. Let’s dive in!
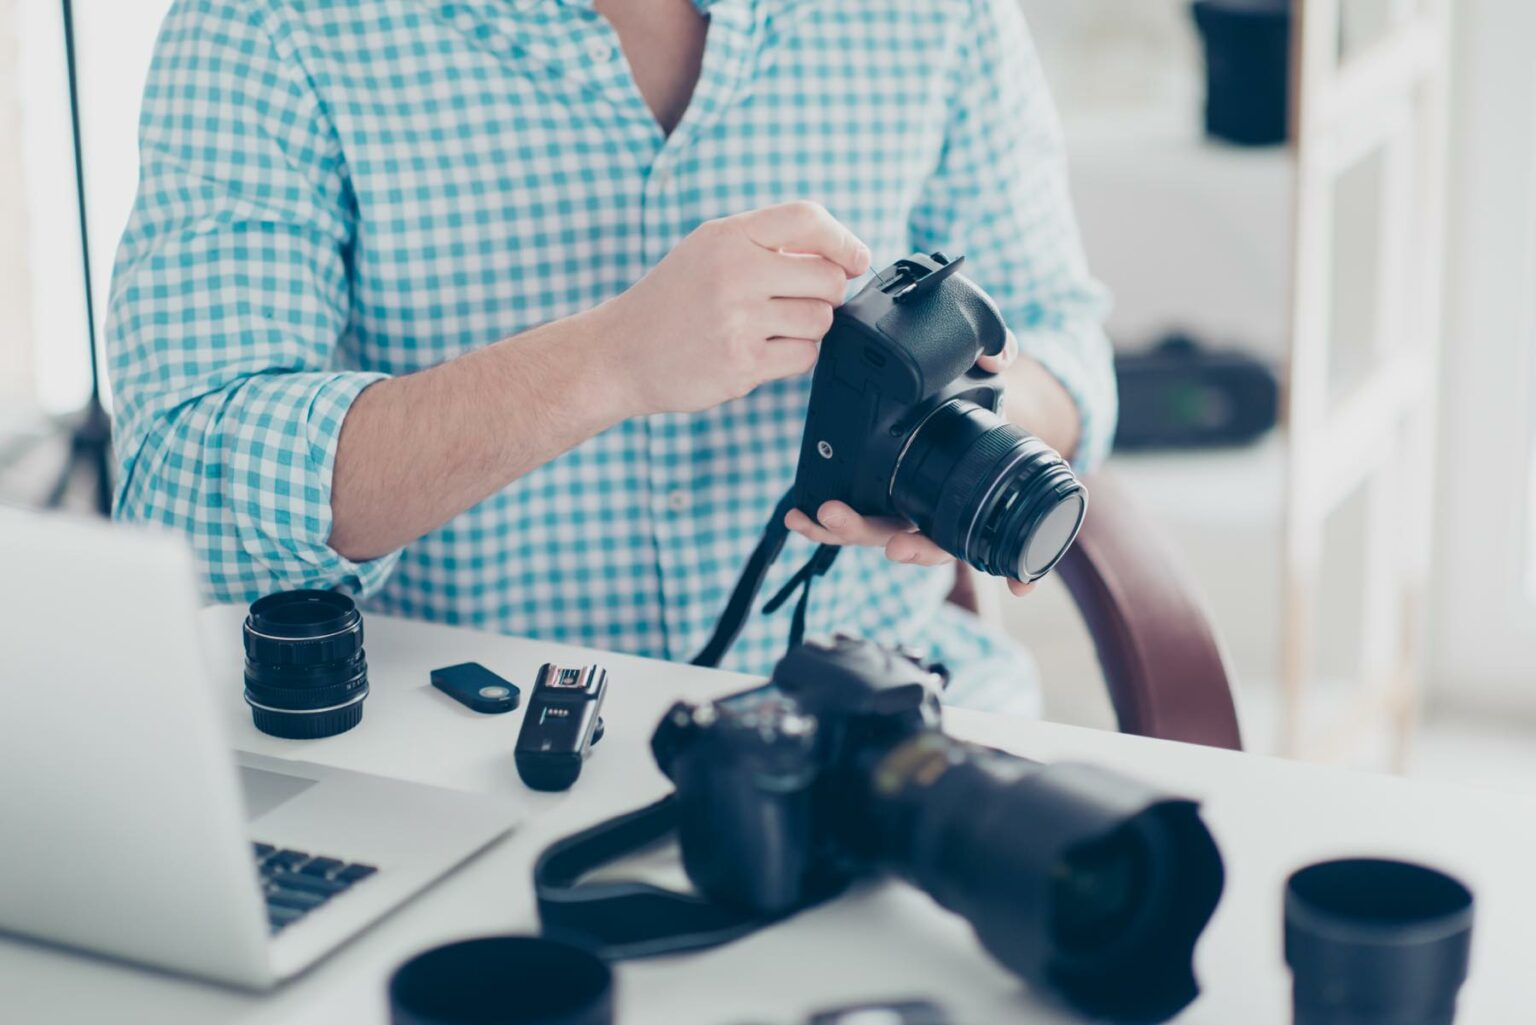
Use a professional camera (and photographer)
The quality of your photos will go a long way to improve the perception of your business, so this is absolutely a worthwhile investment.
If you think you can take professional photos from your phone, then I have news for you – you can’t. Not the kind of photos that will look professional on a website.
Sure, your phone might be great for sunset photos on Instagram, but if you want to be seen as a serious professional, then you need to hire a professional to help you look that way.
Start by using a professional DSLR camera and don’t try to use your phone.
It’s worth it alone to hire a photographer for their equipment. Not to mention their years of experience with lighting, composition and all that goes into making photos look great. That’s a little important too. 😎
How much does a professional photographer cost? My good friend and photographer Hayden Golder suggests budgeting $3k-$5k for professional photos of you and your team for your website. Like many professional services, photography prices can vary depending on experience and skill.
The rest of the tips in this guide will help you to set up your shots so you know how to give your photographer a good brief for what you want, which will make sure you’re efficient during the shoot and your web team can translate this to a fantastic website design.
When composing photos, leave room around the subject
If the photo is too tight on the subject, it doesn’t leave room for it to be cropped into wide landscape photos, which are ideal for the web.
Stand further away from the subject than you normally would. Give plenty of room to the left and right so we have nice wide shots we can work with.
When giving your photos to your web team, don’t crop them – let them do the cropping for you so they can decide how this will best fit the ideal positions on the website.
Use wide aperture
With a wide aperture, you get that nice effect with the subject in focus and the background slightly blurred.
This effect is great for photos of people.
Also, keep the ISO as low as possible, so there’s very little grainy-ness and the photos come up clear the crisp.
Keep steady with a tripod
No one likes a blurry photo. They just can’t be used if you want to look professional.
The trouble is, when you look at a photo on a camera’s viewfinder it might look super clear, but when photos are blown up to the size of a website, then the blurriness becomes evident.
Avoid blurry photos by using a tripod. It will keep your camera steady and your shots clear.
Even the movement from pressing the shutter on the camera can cause some shake and blurriness. To help prevent this, you can either use a remote shutter press or set a shutter delay of 3 seconds after your press.
Use soft lighting
The ideal lighting to use is soft, natural light, without any harsh shadows.
That’s why shooting in the sun is not ideal. It’s harsh, the light isn’t balanced and the light makes people squint so hard they look like they just came out of a cave.
The artificial lighting inside offices isn’t ideal either. It doesn’t give a natural skin tone colour which is very hard to fix with editing and has uneven shadows.
What you want is a nice cloudy day – this is perfect for shooting outside. The clouds provide a natural softbox for the sun, giving even lighting and shadowing.
You still might need additional lighting and your photographer will be able to advise you on that.
If shooting inside, you need multiple light sources. This avoids shadows and gives a more natural look. Ideally, you’ll walk into a photography studio and you’ll have all the lights you need and a professional that knows how to make you look amazing.
Short of that, 2x softbox lights and another light source such as a window will usually be enough to work well inside.
OK so now that you’ve got the gear, let’s look at the kind of shots you need.
Show the experience
Ever heard the expression, show me don’t tell me?
It means to give people a sensory experience rather than just a plain description.
Your photos are an opportunity to give your website visitors a sensory experience of what it would be like to work with you so they can get a clear idea without needing to read the details and work it all out.
What you want to do is make it so that the person looking at your photos can experience what it would like to be there, kind of from a voyeuristic perspective like they are in the room watching you work with someone.
Give them the feeling of what it would be like to be in your business, working with you and your team.
Here are a few tips to give them a rich sensory experience:
- Show the actual work being done with the client in the picture so the person looking at the photo can picture themselves in the scene.
- Show the overall feeling that you want to convey: Is it quiet? Is it busy? Is it calm? Is it happy? Is it friendly? Is it serious? Is it light-hearted? Is it caring?
By capturing these feelings in your photos, you can convey this rich experience to your website visitors so they are more likely to want what you’re offering.
Here are few examples:
- For a Chiropractor: Show people being adjusted. Show people being shown their X-rays.
- For a personal trainer: Show you talking to someone and pointing to a fitness plan. Show you spotting someone.
- For a locksmith: Show you working on a lock with your tools while the homeowner is there and looking relieved.
- For a yoga teacher: Show you leading a full class of people. Show the calmness in the room and how you have it set up to be a sensory experience.
- For a life coach: show you talking with a client. Show your listening intently and build rapport with them. Show the scene where you have your sessions, such as in a well lit and private room or at a coffee shop (if that’s your thing).
A note on Zoom: if you’re in the world of remote sessions with video software like Zoom, you can convey this with a photo of you and your computer, but not from your computer. This shows the idea of the scene that you’re in, as if someone is watching you work, instead of looking at you like you’re in a meeting.
Tell The Story
Without using the cliche of photos telling a certain number of words, I will say this – photos tell stories.
What story do you want to tell? What story do you want your visitors to feel like they are part of?
Think of it from the perspective of your dream client and what’s important to them.
Generally speaking, they want someone they can trust, that has the experience, has the expertise and that other people see as an authority.
For your business, it might be something even more specific than these things.
The key is to get into the mind of your dream client and help them see that you’re the answer to the problems and the vehicle to get them to their solution.
As I mentioned above in showing your experience, what are the words that represent what you want the story to be? Caring? Serious? Light-hearted?
Write this down so you can capture this in your photos.
If your business is focused on “community”, then having one person in a chair looking at the camera with a blank expression on their face doesn’t exactly scream “community”. You might want to try taking some photos of a group of people being together, connected and happy like they are a friendly community.
Show your face and eyes
This isn’t the time to hide and feel self-conscious – put your calm, confident self out there for all to see so you’re sending the right message to your visitors.
Seeing faces and eyes builds trust and familiarity, so make sure you’ve got yours on display.
Nice soft lighting will help with this, so you can keep a natural facial expression without straining or squinting your eyes.
It’s helpful to have a mix of photos where you’re looking directly to the camera and some off to the side. We can’t help but look at the eyes when someone is making eye contact with us, even if it’s in photos.
Similarly, if we see someone looking in a particular direction, we tend to want to look in that same direction as well.
This is super useful to direct people’s attention and something you can take advantage of on your website and landing pages, so make sure you have a mix of eye positions in your photos.
Wear classic clothes
This is a great tip from my friend Jennie Lakenan on what to wear for website photos: keep it classic.
Now, I’m not a fashionable kind of guy, I like to keep it fairly minimal and simple myself, so this is coming from a place utility.
For your website photos, there’s no need to sport this seasons’ hottest trends or you’ll risk them looking out of date in a year or so.
Just make sure your clothes are simple, tidy and wrinkle-free.
Use a few different outfits for your photos so it doesn’t look like you’re the kind of person that wears the same Steve Jobs turtle-neck every day (unless that’s already a useful part of your brand).
Oh and a note on haircuts – a fresh cut the morning before the shoot will be obvious and stand out. We don’t want anything to stand out that we don’t want to and “this person has a fresh haircut” is not the kind of noise we want inside our ideal client’s head. Give a few days space between the haircut and the photoshoot so there’s time for it to settle and look more natural.
Make a list of shots for your photoshoot
Having a list will make help sure you have a productive shoot, you don’t forget anything and so your mind and energy are free on the day of the shoot.
When you’re mind is clear and calm, you’ll portray that in your videos. If you’re freaking out and rushed, that’s going to get captured in there too.
So let’s make things easier on ourselves with a list, shall we?
Start by looking at your website’s sitemap and the plan you and your web team have put together. Then go ahead and list out the shots needed for each page.
For each shot, take 2-3 different positions of the same shot. That way, your web team have more to work with and you can use the additional shots in other parts of your marketing.
Rookie Mistakes
Some people think photos are all about being in a nice suit in a chair, looking professional and staring at the camera. This might be fine for LinkedIn, but it doesn’t show anything about what you do!
Take photos that show you in action, doing your thing and you’ll be much more likely to tell the story your ideal clients want to get involved with.
Also, let me say these two things again:
- don’t use your phone – hire a professional photographer. It’s well worth the investment.
- Don’t crop your photos too tight – leave plenty of space, especially left and right, so your web team can do the cropping to suit the website design.
Pro-Tips
How are you different?
Capture photos that show how your business is different. For example, if you have a strong focus on client education and your competitors don’t, then show photos where you’re teaching and this will convey the point of difference and help to set you apart.
Get permission in advance
If you’re photos involve your clients or someone else’s property, then you’re going to need to have permission. Be sure to use model release forms and property release forms to help make this process easier (you can find free model release templates by Googling).
Action Steps
Start by finding a photographer – and booking them in! If you feel like you’re not quite ready, then my advice is to book it in any way. By setting a hard deadline then it will force you to work backwards and get ready in time.
Constructive constraints get stuff done!
I hope you’ve found these tips helpful to get website photos that represent the quality of your business and attract your dream clients.
Photoshoot time – let’s go!
Author
Simon Kelly
Simon started his first web agency in 2009 which he merged with the SGD team in 2023. With a strong background in digital strategy and a history of working with fast-growing Australian companies, including CyberCX, Envato and Agency Mavericks, he's passionate about using ethical digital marketing that delivers business value. Simon's experience includes coaching digital agencies, running digital marketing workshops, driving growth and excellence within the SGD team.
Next Article

Tips to upgrade your at-home video studio (without spending a fortune)
November 12, 2021


Get Started
"*" indicates required fields

Tell us about your project
"*" indicates required fields